March 20, 2017
Instructions for installing the i-lign server stack on a Windows 2012 server.
Requirements
- i-lign 8.0 or later. These instructions will not work for earlier i-lign releases.
- See Server Requirements
- Administrative rights on the server (to install software, configure parameters, and stop/start services)
- The latest Windows 64bit Java SE 8 JRE from Oracle Java
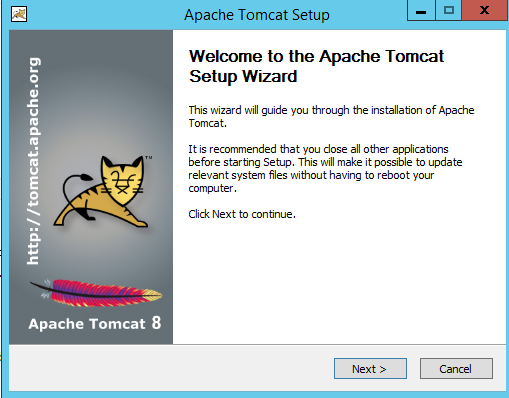
- The latest Windows Service Installer for Tomcat 8.5.x from Apache Tomcat
- Files from the i-lign application download - ROOT.war (available by contacting support@ilign.com), INHOUSE.context.xml (available at the bottom of this page).
- The connection information for your i-lign database (ie server hostname, port number, user name, password)
Installation
Run the Java installer (As Administrator) using the default choices.
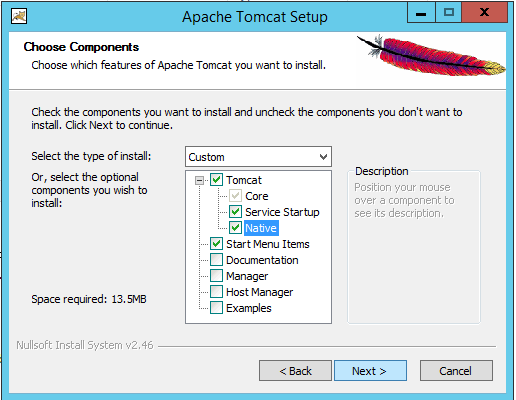
Tomcat Components
Run the Tomcat installer and make sure to tick the following options - ie add “Service Startup” and “Native”. We recommend not ticking “Documentation” and “Manager”.
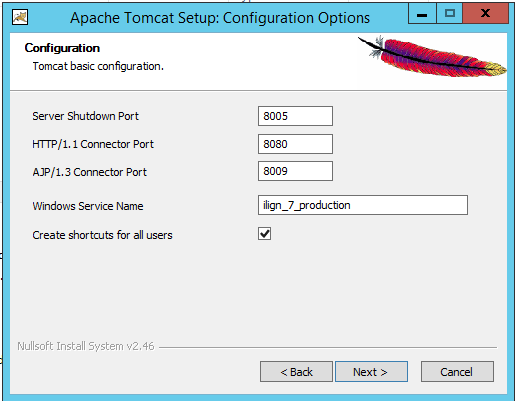
Ports and service name
These are the default port options, you can change it, but make a note of the changes. If this is going to be the primary instance on the server and won’t have a web server placed in front of it for single sign on, it would be useful to change the HTTP port to 80.
Tomcat Notes
The name of the directory Tomcat and i-lign get installed into will change depending on what the Windows Service Name is. We use ilign_production in this document - if you use a different name just alter the subsequent paths to suit.
By default, Tomcat runs under the Local System account. If another user has been specified during the install, this user must have rights to start/stop the windows service as well as permissions to read, write & modify the Tomcat directory. We recommend using Tomcat installer’s default.
Finishing Tomcat installation
At the final setup page, untick “Run Apache Tomcat” and “Show Readme” as we do not want to start the service just yet:
Configuring Tomcat
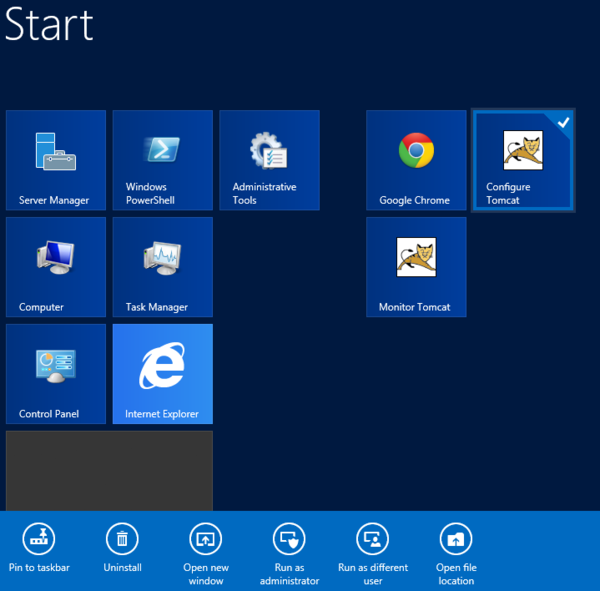
Next, we need to configure the Tomcat Service Options. Go to Start Page, right click on Configure Tomcat icon and ‘Run as Administrator’.
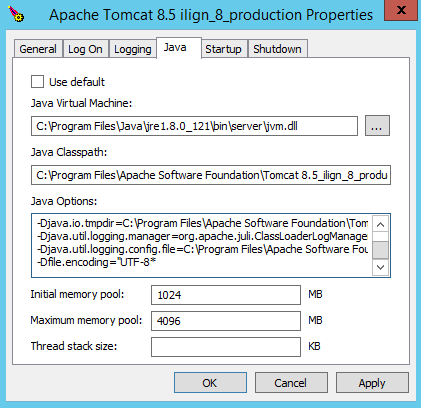
Set the “Initial memory pool” to 1024MB, and the “Maximum memory pool” to at least 2048MB.
Add the following line to the list of options on the Java tab
-Dfile.encoding="UTF-8"
Swap the default context.xml file for the INHOUSE.context.xml file (contained in the ZIP file attached at the bottom of this page).
Open and edit the context.xml file under C:\Program Files\Apache Software Foundation<instance_name>\conf
Make sure DATABASE-USERNAME, DATABASE-PASSWORD, DATABASE-SERVER, and DATABASE-NAME is changed to the specific database that ilign will connect to. If your SQL Server is not listening on the default port (1433), you will need to change that too.
Installing the i-lign application
Next, delete the ROOT folder under C:\Program Files\Apache Software Foundation<instance_name>\webapps folder: image Now copy the ROOT.war that was supplied into the same webapps folder
Starting Tomcat
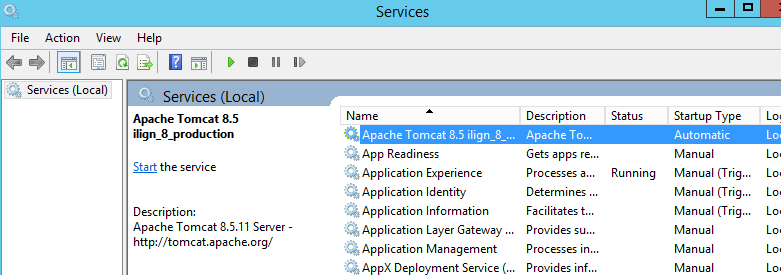
Now we are ready to start the service, so go to Services and start the Apache Tomcat service, or alternatively, start the service through the Tomcat Monitor applet (if it was installed)
After the service was successfully started, browse to the ilign instance URL (ie the servers hostname and Tomcat HTTP port) and you should then see the i-lign Login screen. That should indicate everything was installed successfully :)